 Written and reviewed by the A-Z Landscaping Design-Build Team Richmond Hill, ON12+ years · 380+ projectsUpdated June 8, 2026
Why interlock settles, heaves and grows weeds, how polymeric sand and sealing really work, safe winter de-icing, and when a lift-and-relay beats a full rebuild - with GTA cost ranges.
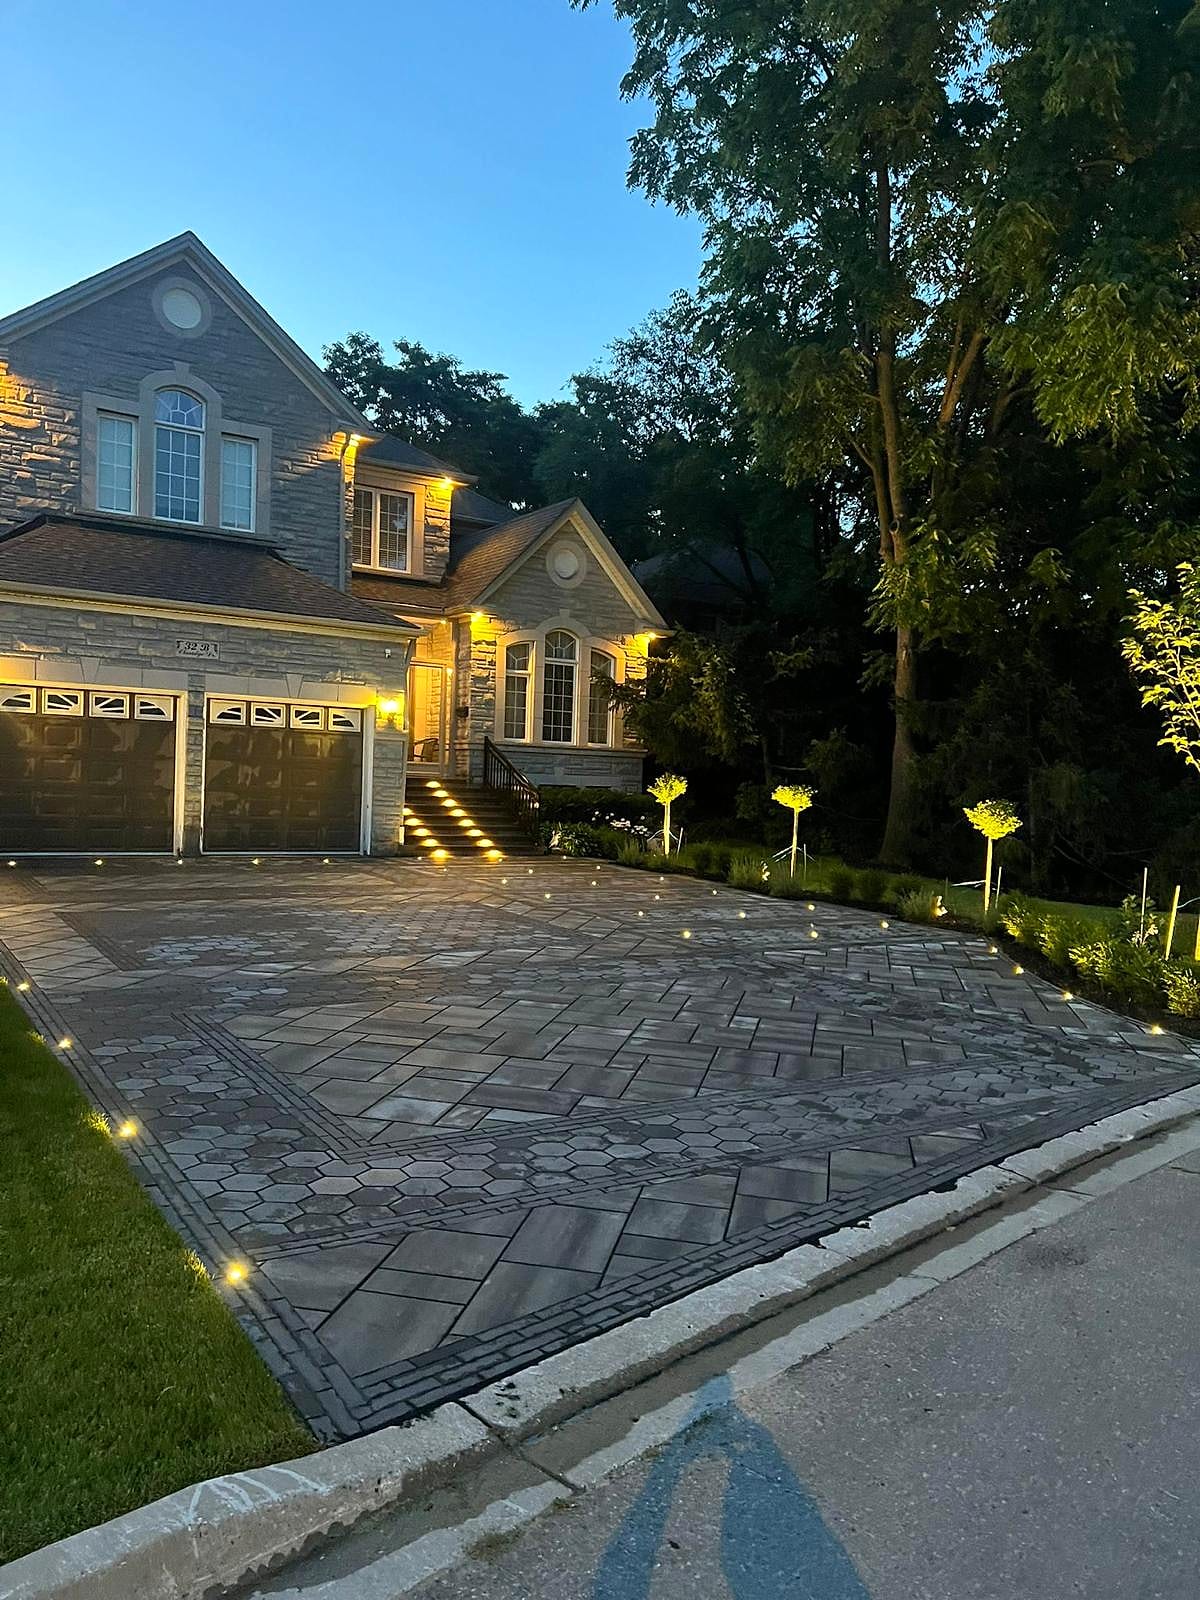
Interlock is the most forgiving hard surface you can put in a GTA backyard — and the most unfairly blamed. When a patio sinks near the downspout, when a driveway ripples after a hard winter, when weeds appear along every joint by July, homeowners almost always reach the same conclusion: the pavers failed. They rarely did. Interlocking pavers are a wear surface sitting on top of an engineered base, and virtually every failure you can see is telling you something about the base, the drainage or the joints — not the stone.
This is a practical guide to keeping interlock looking new, fixing it properly when it moves, and knowing the difference between a two-hour maintenance job, a lift-and-relay, and a genuine rebuild. It is written for the conditions we actually work in: freeze-thaw cycles, clay soils, road salt and heavy spring runoff.
Why interlock settles, heaves or grows weeds
Settling
Settling is downward movement, and it points at the base. A patio built on thin or poorly compacted granular, a driveway built without enough depth for vehicle loads, backfill over a trench that was never compacted in lifts, or organic material left under the base will all give way over a few seasons. It usually shows up first as a dip near an edge, a downspout, or wherever water concentrates — because water moving through a base carries fines away with it.
Heaving
Heaving is upward movement, and it points at water plus frost. Saturated base material expands when it freezes, and it does not go back exactly where it was. This is why drainage is the single most important thing about a paver installation: a base that drains does not stay saturated, and a base that does not stay saturated does not heave much. Missing edge restraints make it worse, because the field has nothing holding it laterally when the ground moves.
Weeds
Here is the part that surprises people: weeds in a paver joint are almost never growing up from below through a properly built base. They are growing in organic debris that has collected in the top of the joint — pollen, leaf litter, soil blown in from garden beds — with seeds landing on top. That is good news, because it means the fix is joint maintenance rather than excavation. Moss and algae in shaded, damp areas follow the same logic.
Polymeric sand: what it does and how it fails
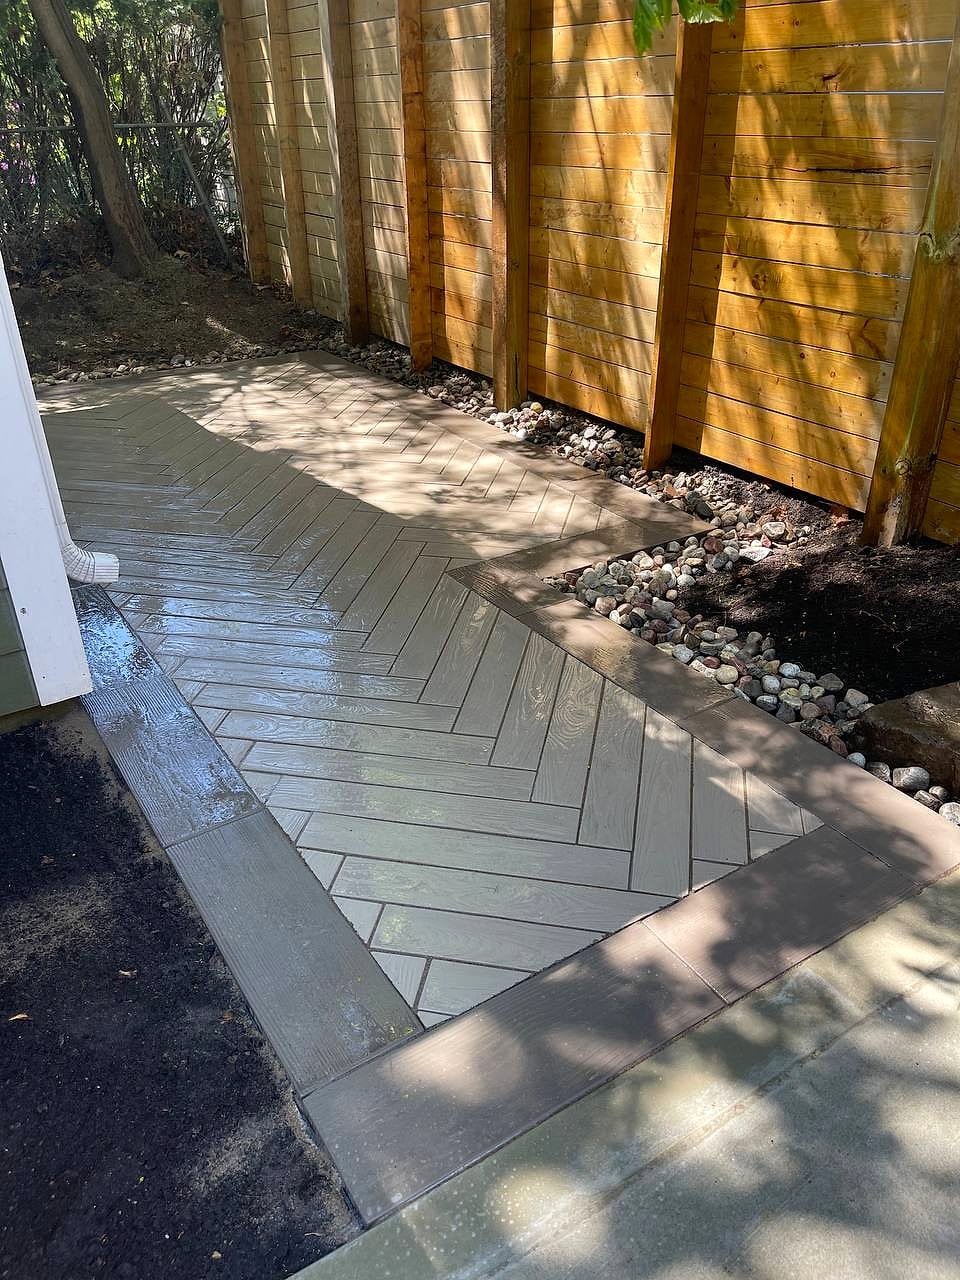
Polymeric sand is graded joint sand blended with a binder that activates with water and sets firm. Done right it locks the field together, resists washout, and dramatically reduces weeds and ants. Done wrong, it is the most common cause of an ugly patio.
- It must be swept in fully. Joints should be filled to just below the chamfer of the paver, not half depth. Under-filled joints wash out in the first heavy rain.
- The surface must be bone dry before installation, and completely clean after. Any polymeric dust left on a damp paver face sets as a permanent haze.
- Watering is a technique, not a step. Too little water and the binder never fully activates; too much and it floats out of the joints. Multiple light passes work; a hose left running does not.
- It needs a dry window. Installed a couple of hours before a downpour, it will be sitting on your lawn by morning.
- It is not a fix for a moving base. If pavers rock underfoot, joint sand will crack again within a season.
Expect to top up joints roughly every three to five years on a well-drained patio, sooner in high-traffic driveway wheel paths or anywhere a downspout discharges across the surface. If joints are washing out yearly, the drainage is the problem — see our interlocking patio and driveway pages for how a proper base is layered.
Sealing: honest pros and cons
Sealing is optional. It is not maintenance you owe your patio, and a well-built paver surface survives decades unsealed. What a sealer actually does is reduce staining, stabilize joint sand, slow efflorescence and — depending on the product — enrich colour.
Reasons to seal
- Outdoor kitchens, barbecue zones and dining patios where grease and wine stains are likely.
- Pool surrounds, where a matte penetrating sealer helps with staining without turning the deck into a skating rink.
- Driveways exposed to oil drips.
- You want a slightly richer, deeper colour on a natural-look paver.
Reasons not to seal, or to wait
- Never seal brand new pavers immediately. Most manufacturers advise waiting — commonly around a full season — so efflorescence can work its way out first. Sealing over it locks it in.
- A heavy wet-look film sealer on a smooth paver can be slippery when wet, which is a poor choice around a pool or on steps.
- Sealing traps moisture if applied to a damp surface, causing a cloudy white blush that is a nuisance to reverse.
- Once you start, you are committing to a cycle — typically re-application every three to five years, and stripping if you ever want a different finish.
If you do seal, choose deliberately between a penetrating or matte natural-look sealer, which changes almost nothing visually and keeps traction, and a wet-look film, which darkens and glosses the surface and shows wear patterns as it ages. Manufacturer guidance is worth reading directly — both Unilock and Techo-Bloc publish care and cleaning direction for their own products, and we build with all the major lines. Our comparison of Unilock, Techo-Bloc and Belgard covers how the surface finishes differ in the first place.
Efflorescence: normal, temporary, and often mistaken for damage
That whitish haze on new pavers is efflorescence — natural salts within the concrete migrating to the surface as moisture evaporates. It is not a defect and it is not a stain from the installation. In most cases it fades on its own within the first year or two of weathering. If you want it gone sooner, a dedicated efflorescence cleaner applied to a pre-wetted surface, worked with a stiff brush and rinsed thoroughly, is the correct approach — not acid poured neat, which etches the paver face and permanently lightens the colour.
Weeds, ants and pressure washing
- Sweep and blow regularly. Removing organic debris from joints removes the growing medium. This is the highest-value five minutes in paver maintenance.
- Pull or spot-treat weeds early, before roots widen the joint and displace sand.
- Ants are a symptom of loose, unbound joint sand. Properly installed polymeric sand solves most colonies by removing the habitat.
- Pressure wash carefully. A wide fan tip, moderate pressure and a consistent distance clean the surface; a narrow tip held close blasts joint sand out and etches the paver face. Assume any wash removes joint sand and plan to re-sweep afterward.
Salt and de-icers in GTA winters
Winter is where driveways and steps and entrances take the most abuse. Rock salt (sodium chloride) is the harshest common option for concrete pavers, and the real damage mechanism is repeated freeze-thaw cycling within a saturated surface. The practical rules:
- Shovel first, de-ice second. Less snow left on the surface means far less product needed.
- Use the minimum quantity that works, and sweep up leftover product rather than letting it dissolve and re-freeze repeatedly.
- Sand or grit provides traction with no chemical action at all — the safest option on a new installation.
- Avoid de-icers on pavers in their first winter where possible, and avoid fertilizer-based products entirely; they stain.
- Use a plastic or rubber-edged shovel blade, and never a metal-edged plow blade dropped directly onto a tumbled paver surface.
Repair or rebuild? How to tell
The honest test is whether the base is intact. If the pavers are sound and the movement is localized, a lift-and-relay is the right, cost-effective fix. If the base itself is thin, contaminated or draining poorly across the whole area, relaying only buys you a couple of seasons.
- Joint top-up and clean-up — surface issue only. Typically a half-day service call in the range of a few hundred dollars, with materials.
- Spot lift-and-relay — one dip, one settled section, a trench line, or a soft area under a downspout. Pavers are lifted, base is regraded and recompacted, bedding is re-screeded, pavers reset and joints re-sanded. Commonly in the range of $15 to $30 per square foot in the GTA depending on access, area and how much base material has to be replaced.
- Full rebuild — widespread heaving, inadequate base depth for the load, unresolved drainage, or an original installation with no edge restraint. Practically a new installation, and priced closer to $30 to $50 per square foot for standard pavers. Our interlock patio cost guide and interlock driveway cost guide break the pricing down properly.
Ranges are illustrative for planning; every quote we issue is fixed and itemized after a site visit. Note the one genuine advantage interlock has over poured slabs: it can be lifted and reset invisibly. A cracked concrete slab cannot. That difference is a big part of the argument in our interlock versus concrete driveways comparison.
A realistic maintenance schedule
- Monthly, in season: sweep or blow debris out of joints; pull any weeds early.
- Annually, in spring: rinse the surface, inspect joints for washout, check edge restraints, confirm downspouts discharge away from the field, and spot-treat stains.
- Every 3 to 5 years: top up polymeric sand; re-apply sealer if you seal.
- Every 5 to 10 years: inspect for settlement and relay any low areas before they spread.
- Immediately, any time: address a dip that holds water. Standing water on interlock is a base problem announcing itself early.
Interlock maintenance FAQ
Do I have to seal my pavers?
No. Sealing is a preference for stain resistance and colour, not a structural requirement. Unsealed interlock built on a proper base lasts decades.
Why does the same spot sink every year?
Because water is concentrating there. Look for a downspout, a missing swale, a utility trench, or a low point with nowhere to drain. Relaying without correcting the water simply resets the clock.
Can I use regular sand instead of polymeric?
You can, and it washes out faster, invites ants and grows weeds. Polymeric is worth the difference on almost every residential surface.
Is a pressure washer safe on interlock?
With a wide tip, moderate pressure and steady distance, yes — but expect to re-sand the joints afterward.
How long should a properly built interlock surface last?
The pavers themselves outlast most other hardscape materials. Longevity is decided by base depth, compaction and drainage, which is exactly why we build in-house crews to a fixed specification and back the work with a multi-year workmanship warranty. Landscape Ontario at landscapeontario.com is a useful resource for homeowners vetting contractors.
Fix the cause, not the symptom
Since 2014 we have completed more than 380 projects across Richmond Hill, Vaughan and the GTA, and a meaningful share of them started as someone else's repair call. The pattern is consistent: the pavers were fine, the base was not. If your interlock is sinking, heaving, staining or shedding joint sand every spring, let us look at it properly and tell you whether it is a relay or a rebuild — including as part of a wider backyard renovation if the space needs rethinking anyway. Get a free estimate or call (416) 846-5893, and you will get a straight answer and a fixed, itemized price.